Understanding Veneering – Making an Inlaid Tray
Skill Level : Beginner / Intermediate
Cost : £590
Duration : 5 Days
Other : Ideally some knowledge of woodworking is useful but not essential. All materials are included in the cost of the course.
Dates :
1-5 February 2016
16 – 20 May 2016
10-14 October 2016
About the course
Veneering is a wonderful way of adding a decorative effect to a project, a technique that has been used in furniture making for hundreds of years. In simple terms, just thin slices of an attractive ‘show-wood’ that are stuck to a groundwork of some sort, originally pine or oak but now, often a sheet material like ply or MDF. This course looks at the traditional method of veneering by hand, and the more modern method of veneering using a vacuum press.
Originally cut by hand with a fine saw, veneers would have been around 2mm thick, most modern veneer production is ‘Knife-cut’ and is typically only about 0.6mm thick.
Veneering opens up huge opportunities for decorative work using exotic timbers and inlays, and using a vacuum press for veneering makes large panels and curved work a much more viable proposition for the amateur and the smaller professional workshop.
VENEERING BY HAND
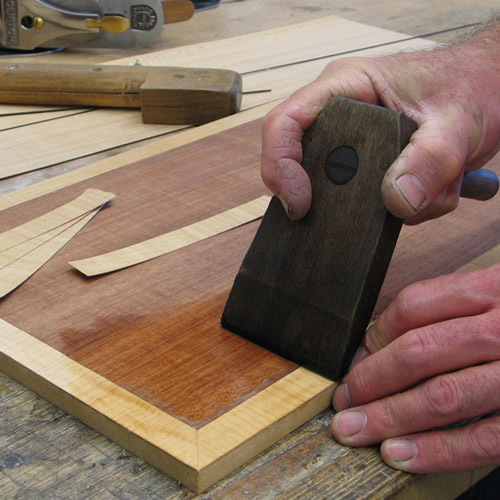
‘Hammer Veneering’ is a technique that was first use in this country in the 17th & 18th Centuries. It is still a very valid and useful technique for the modern woodworker, very low-tech and great fun to learn, as long as you don’t mind getting sticky.
VENEERING USING A PRESS
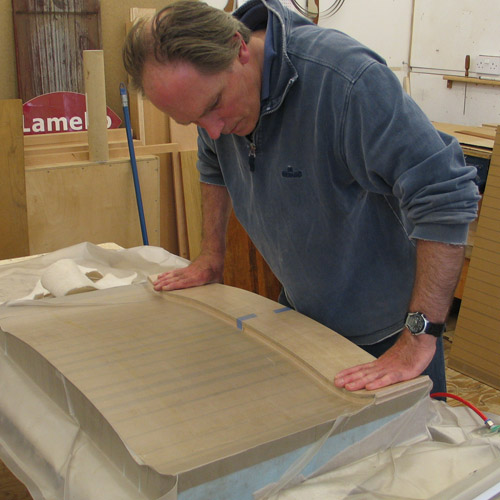
If you’re using a modern glue you will need to use a press of some sort. Large, heated, hydraulic presses are used commercially but these can be huge beasts and take up masses of valuable workshop space. Other pressing options that would be better for a small workshop might involve loads of cramps or perhaps a forest of ‘Go-bars’, a technology used originally for gluing sound boards on harpsichords and the like, now often used by guitar makers. We will look at these methods and will also use the, rather more up to date, Vacuum Press.
GLUES
Veneering by hand is a technique that’s been around for centuries and will only work with an ‘old’ glue. To master this technique you will have to make friends with animal glue, it’s the one that has to be applied hot and has an ‘interesting’ smell. This is actually a wonderful, very strong, glue, apart from hammer veneering, where it is the only glue that will work, it’s a very useful glue to know and understand how to use, it certainly isn’t just a glue for restorers. We will also look at the other glues that are available, some friendly and some not quite so friendly for this sort of work.
TRAY PROJECT
Having completed some test panels you will embark on a bit of Parquetry, creating a decorative ‘Lay-On’ for small tray which will have a mitred lipping added around its edges in solid wood.


What You Will Learn
VENEERS – how to choose laminate materials for a particular project
GLUES – Mixing and using Animal Glues; different types of PVA; UF…
EQUIPMENT – Veneer hammer, ‘Hot Wet Chisel’, Specialist Saws, Knives; How to sharpen and use a Cabinet scraper; Types of Cramps; Making Go-Bars……
VACUUM PRESS – options, types, bags – tried and tested methods for using this cunning piece of equipment in a smaller workshop.
VENEERING – Preparing Veneer and laying on a flat surface by hand ‘Hammer Veneering’ and with a press. How to lay a ‘Halving’, a Quartering, a Cross-Banding, and letting in a fine line inlay.
CABINETMAKING SKILLS – Hand-cutting mitres to accurately fit a lipping around a tray; Using a plane with a shooting boards and jigs; Using a biscuit jointer
Download printable booking form
Course Enquiry Form
